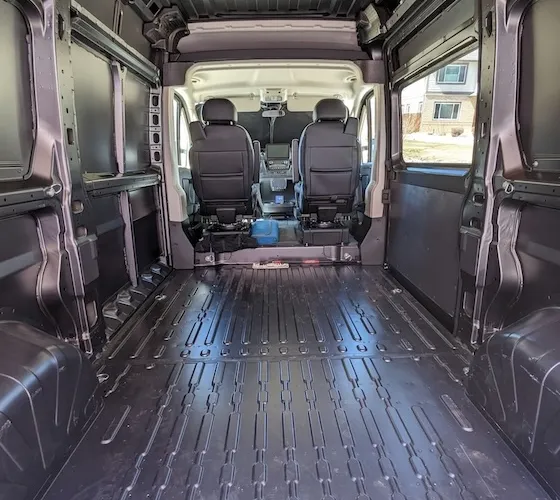
How We Built Our Promaster Van Subfloor: Materials, Cost, and Trade-Offs
- Ryan Chichirico
- Van uplift
- 06 May, 2025
We built our Promaster subfloor around a VanRug base and 3/4-inch Baltic birch plywood. It was not the cheapest approach—the VanRug alone cost us $299—but it gave us a fitted base and a reliable template for cutting the plywood. For a first-time van build, saving time and reducing cutting uncertainty was worth the extra cost to us.
Our limitation: This is the approach we chose for our van, budget, and comfort goals. It is not a universal insulation recommendation. Verify your own model’s dimensions, seat-mounting requirements, clearances, and materials before cutting anything.
Why did we choose the VanRug and Baltic birch?
There are plenty of possible van-floor materials, including Polyiso rigid board, XPS rigid board, and Reflectix. We decided to keep our first layer simple: the VanRug gave us a base that fit the Promaster and doubled as a template for the plywood.
| Material | What we used it for | What it cost us |
|---|---|---|
| BedRug / VanRug | Fitted floor base and plywood template | $299 |
| 3/4-inch Baltic birch plywood | Rigid subfloor layer | Varies by local supplier |
The real trade-off was clear: we paid more up front to avoid making the first floor cut from a rough measurement. If minimizing cost is the priority, a different insulation-and-template approach may make more sense.
What did the subfloor look like during the build?
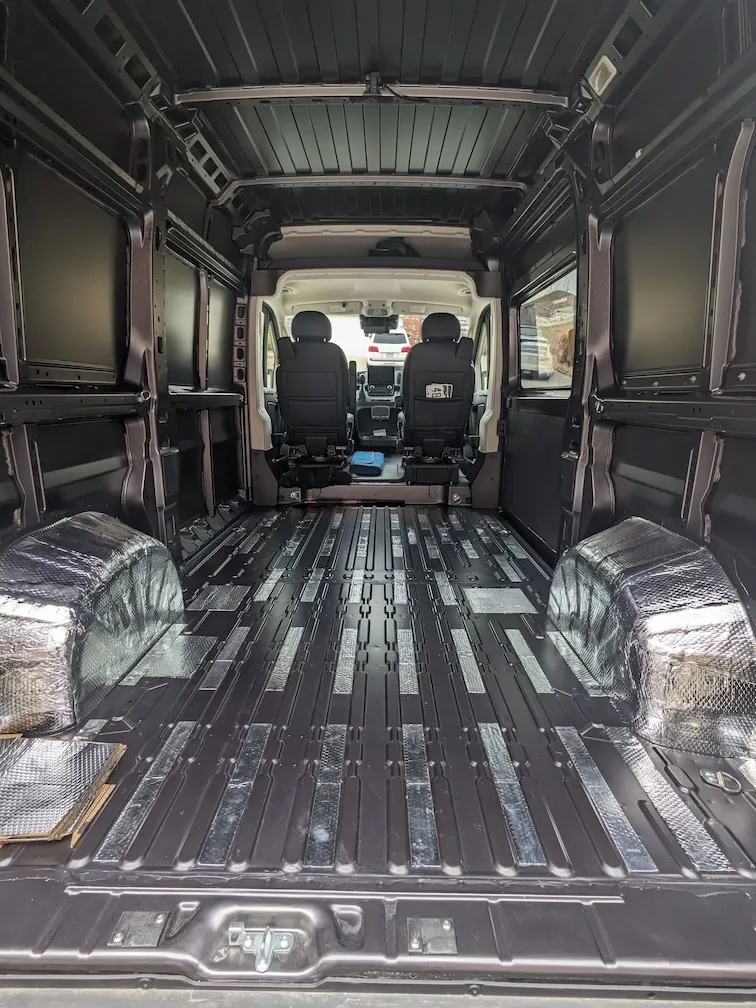
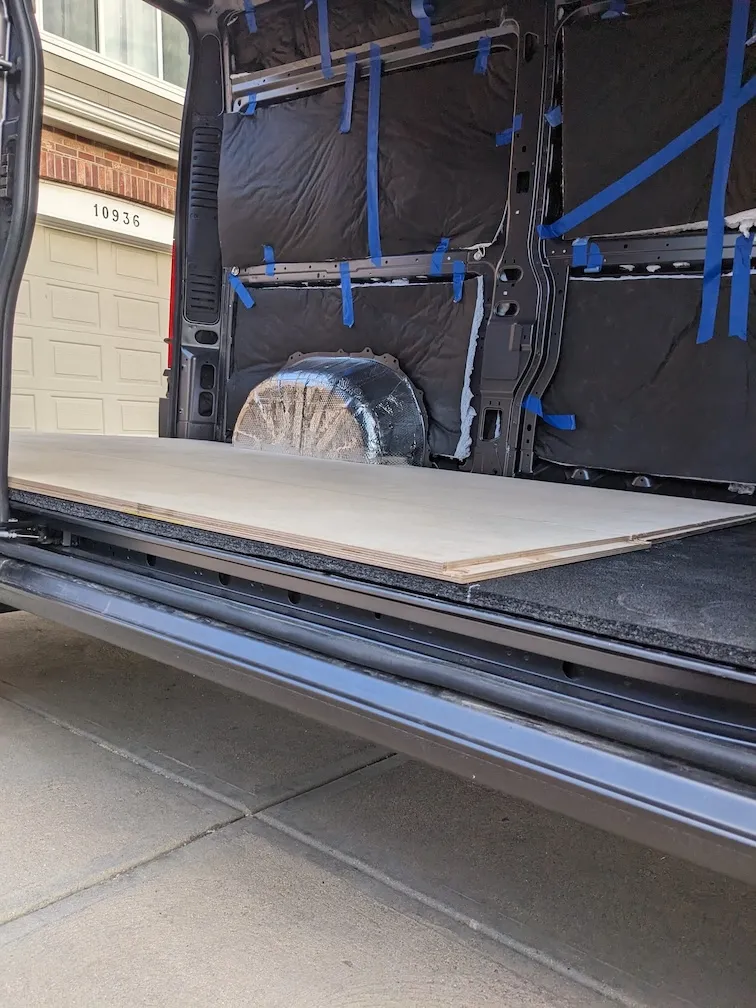
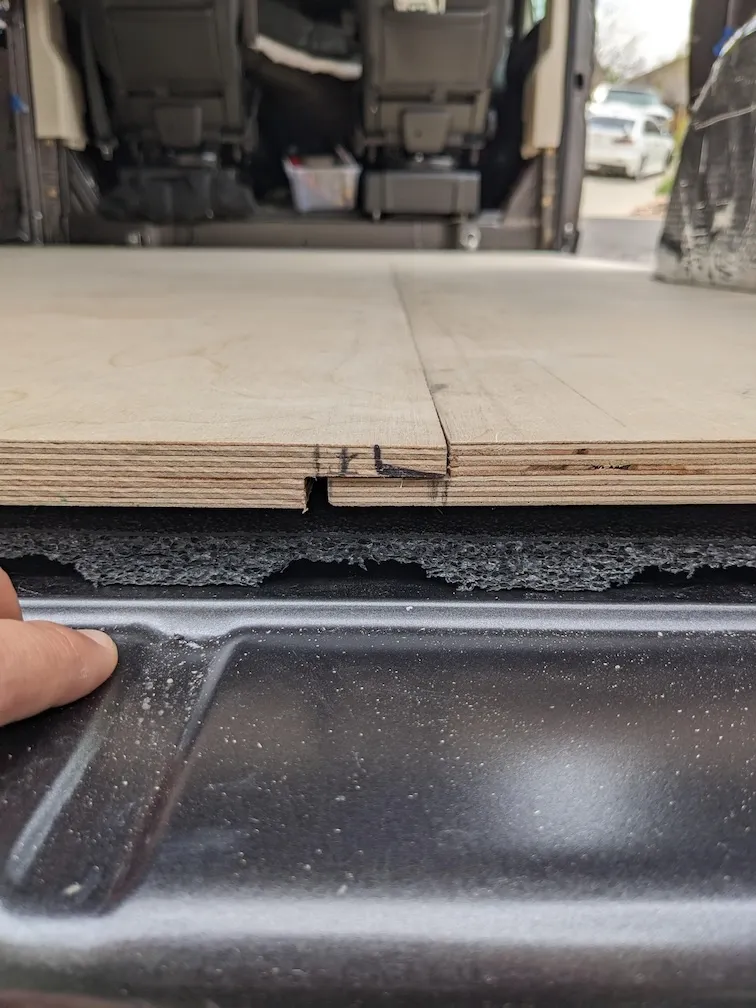
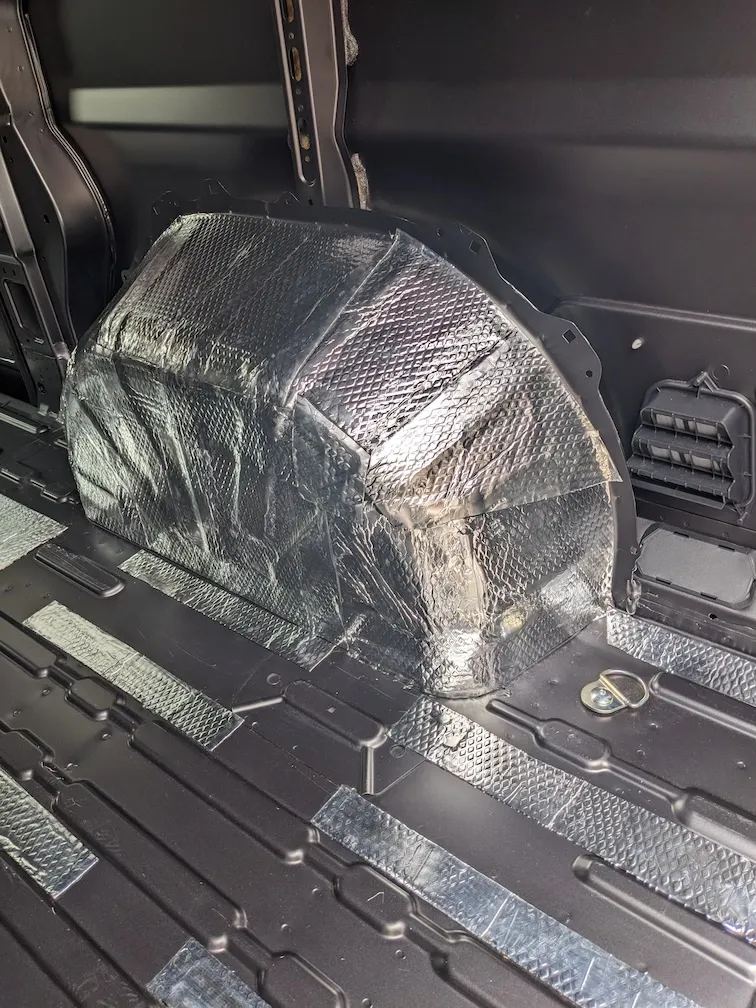
What materials did we use?
- 3/4-inch Baltic birch plywood
- BedRug / VanRug
What would we do differently?
We would still use the VanRug as a template because it reduced the uncertainty of a first-time build. The main lesson was to choose the floor system based on the trade-off you care about most: time, cost, insulation value, floor height, or ease of installation—not internet consensus alone.